If you know me I like to try and keep on top of frontend trends. I’ve played around with many different metaframeworks such as Next.js, Remix, and Solid Start. Solid Start has taken an interesting direction of breaking down the tranditional metaframework. Solid Start is router agnostic, and actually relies a lot on a package called Vinxi which isn’t Solid specific. With that in mind, lets take a journey for ourselves into the building of a React metaframework using React Router.
Let’s dive in shall we!
Setup
First of all lets do a bit of setup by creating an empty directory and then creating a package.json with the following command:
npm init -y
We will want to make a few edits by adding type="module" as well as adding the Vinxi and React packages as well as the Vinxi scripts.
Your final package.json should look something like the following:
{
  "name": "vinxi-playground",
  "version": "1.0.0",
  "description": "",
  "type": "module",
  "scripts": {
    "dev": "vinxi dev",
    "build": "vinxi build",
    "start": "vinxi start"
  },
  "keywords": [],
  "author": "",
  "license": "ISC",
  "dependencies": {
    "react": "^18.2.0",
    "react-dom": "^18.2.0",
    "vinxi": "^0.2.1",
    "@vinxi/react": "^0.2.0",
    "@vinxi/server-functions": "^0.2.1"
  },
  "devDependencies": {
    "@types/react": "^18.2.52",
    "@types/react-dom": "^18.2.18"
  }
}
Also add a tsconfig.json as follows:
{
  "compilerOptions": {
    "strict": true,
    "esModuleInterop": true,
    "jsx": "react-jsx",
    "module": "ESNext",
    "moduleResolution": "Bundler"
  }
}
Then we will run pnpm i to install our dependencies.
Spa Mode
So the most basic app is a simple SPA mode app. Vinxi is based on Vite so this mode is very similar to a Vite app.
First you will need to create a public folder and within it create a basic index.html
<html>
  <body>
    <h1>Building a React Metaframework</h1>
    <div id="app"></div>
    <script type="module" src="./src/entry-client.tsx"></script>
  </body>
</html>
Then we simply create entry-client.tsx in a src folder that does a basic React render:
import { createRoot } from "react-dom/client";
import Counter from "./Counter";

const root = createRoot(document.getElementById('app')!);
root.render(<Counter />);
The Counter component looks something like this:
import { useState } from "react";
export default function Counter() {
const [count, setCount] = useState(0);
return (
<div>
<p>{count}</p>
<button onClick={() => setCount(count + 1)}>Increment</button>
</div>
)
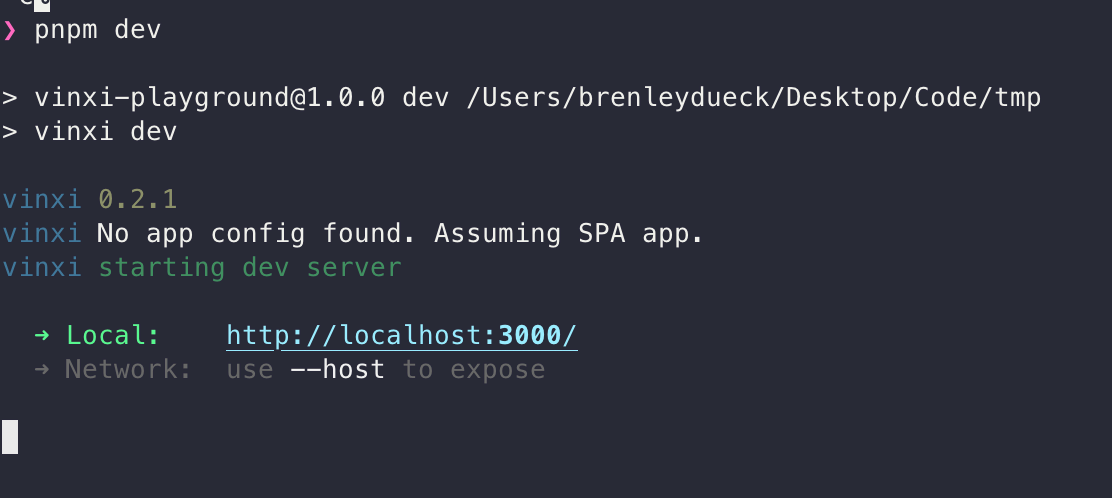
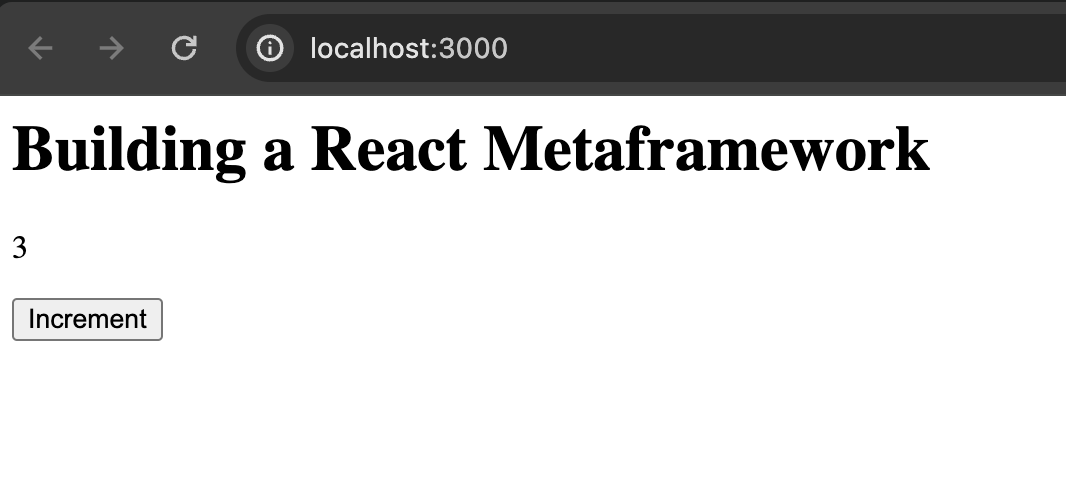
}Now by running pnpm dev you will get a super simple React app similar to Vite.
React SSR
Here is where things get a little more interesting. We start to use Vinxi and give our app the ability to server side render (SSR).
vite.config.ts
import { createApp } from "vinxi";

export default createApp({
  routers: [
    {
      name: "public",
      type: "static",
      dir: "./public",
    },
    {
      name: "ssr",
      type: "http",
      handler: "./src/entry-server.tsx",
      target: "server",
    },
    {
      name: "client",
      type: "client",
      handler: "./src/entry-client.tsx",
      target: "browser",
      base: "/_build",
    },
  ],
});
createApp is the basis for all Vinxi app configuration and it creates a set of routers for us. In this case we have setup a static router, an ssr router, and a client router. These are the most basic 3 routers you will need. You will see the client bundler handler is the same as our script src from the spa.
The first step to make this transition is to move the index.html contents to a component we can render and then remove index.html.
// src/MyApp.tsx
import Counter from "./Counter";
import { getManifest } from "vinxi/manifest";
import { createAssets } from "@vinxi/react";
import { Suspense } from "react";

const Assets = createAssets(
    getManifest("client").handler,
    getManifest("client"),
);

export default function MyApp() {
    return (
        <html>
            <head>
                <Suspense>
                    <Assets />
                </Suspense>
            </head>
            <body>
                <h1>Building a React Metaframework</h1>
                <div id="app">
                    <Counter />
                </div>
            </body>
        </html>
    )
}
This is fairly straightforward but the one interesting part is the <Assets /> component. This is something Vinxi provides for us to inject our assets.
Now that we have the basic html component to render we can create our src/entry-server.tsx
import { eventHandler } from "vinxi/http";
import { renderToPipeableStream } from 'react-dom/server';
import MyApp from "./MyApp";
import { getManifest } from "vinxi/manifest";

export default eventHandler(async (event) => {
    const clientManifest = getManifest("client");

    const clientHandler = clientManifest.inputs[clientManifest.handler]
    const scriptSrc = clientHandler.output.path;

    const stream = await new Promise(async (resolve) => {
        const stream = renderToPipeableStream(
            <MyApp />,
            {
                onShellReady() {
                    resolve(stream);
                },
                bootstrapModules: [
                    scriptSrc
                ],
                bootstrapScriptContent: `window.manifest = ${JSON.stringify(
                    await clientManifest.json(),
                )}`,
            },
        );
    });

    event.node.res.setHeader("Content-Type", "text/html");
    return stream;
})
Probably the most interesting part here is how Vinxi gives us access to the client bundle path from our client manifest. We can then use this as our bootstrap script src for our streamed content.
Next we can modify src/entry-client.tsx which is just a simple component for React to hydrate instead of render:
import MyApp from './MyApp';
import { hydrateRoot } from 'react-dom/client';
import "vinxi/client";

hydrateRoot(document, <MyApp />);
We also need a small Vinxi client runtime for some manifest stuff it helps us with.
If you now run pnpm dev and look the browser you should have an SSR’d app, with client interactivity!

File-based Routing
So this is probably the hardest part to setup but Vinxi provides us some helpers to get file-based Routing working.
First we need to setup our file routing conventions and extend Vinxi’s BaseFileSystemRouter. Create this in src/router.ts
import { BaseFileSystemRouter, cleanPath } from "vinxi/fs-router";

export class MyFileSystemRouter extends BaseFileSystemRouter {
  toPath(src: string) {
    const routePath = cleanPath(src, this.config)
      // remove the initial slash
      .slice(1)
      .replace(/index$/, "");

    return routePath?.length > 0 ? `/${routePath}` : "/";
  }

  toRoute(filePath: string) {
    return {
      path: this.toPath(filePath),
      $component: {
        src: filePath,
        pick: ["default"],
      },
    };
  }
}
Basically there are 2 functions you need to customize. The first one toPath is what converts the file src into an actual path. An example is converting src/routes/about.tsx into the path /about.
Secondly the toRoute function is something we will use later but it’s basically stating that we should pick the default export from the component we find. Remember the $component part as we will use this in a bit.
We then need to update our vite.config.ts and add the routes object property for both the client and the server routers. The below shows the client one but the server would be the same.
import { createApp } from "vinxi";
import { MyFileSystemRouter } from "./src/router";
import path from "path";
export default createApp({
  routers: [
    {
      name: "client",
      routes: (router, app) => {
        return new MyFileSystemRouter(
          {
            dir: path.join(__dirname, "src/routes"),
            extensions: ["jsx", "js", "tsx", "ts"],
          },
          router,
          app
        );
      },
    },
  ],
});
Here the important part is the dir property which states to look for routes in the routes folder.
Next we will create a couple file based routes in the routes folder.
// src/routes/about.tsx
export default function About() {
    return (
        <div >
            <h1>About</h1>
        </div>
    );
}

// src/routes/index.tsx
import Counter from "../Counter";

export default function Index() {
    return (
        <div >
            <h1>Index</h1>
            <Counter />
        </div>
    );
}
If you can remember from before we were just rendering the <Counter /> inside our src/MyApp.tsx. We now want to replace it with the proper component that matches the path. For example /about.
First in entry-server.tsx we will pass the path through as follows:
<MyApp path={event.path} />Then in the MyApp component we will take this path and find the matching route:
const routeToRender = routes.find(route => route.path === path);You might ask yourself where the routes are coming from. It is Vinxi!
import fileRoutes from "vinxi/routes";
import { lazyRoute } from "@vinxi/react";

const clientManifest = getManifest("client");
const serverManifest = getManifest("ssr");

const routes = fileRoutes.map(route => {
  return {
    ...route,
    component: lazyRoute(route.$component, clientManifest, serverManifest),
  };
});
You will see that Vinxi gives us an array of routes where the shape matches our toRoute method in the filesystem router. We then use this along with the lazyRoute helper to lazily load our route.$component which should look familiar.
Now that we have the incoming route we can replace our <Counter /> component in src/MyApp.tsx with <route.component/> and wrap it in Suspense.
<div id="app">
  <Suspense> {routeToRender && <routeToRender.component />} </Suspense>
</div>
We can now test that our SSR’d pages are getting the right routes. We will
want to temporarily comment out the hydration in entry-client.tsx
//hydrateRoot(document, <MyApp />);Navigate to http://localhost:3030 and http://localhost:3030/about to see the two pages.
Using React Router
Now we don’t want to leave hydration commented out, but we want the client to match the address bar. This is where you end up reaching for a client/ssr router. In this case I will show how it works with React Router, but you could also choose something like the Tanstack Router
First install the package by pnpm i react-router-dom.
Then for the server just wrap the MyApp component in a static router and pass the path to it instead of MyApp.
import { StaticRouter } from 'react-router-dom/server';

<StaticRouter location={event.path}>
    <MyApp />
</StaticRouter>
Then in MyApp.tsx render out the Routes as follows:
import { Route, Routes } from "react-router-dom";
<Routes>
    {routes.map(route => (
        <Route key={route.path} path={route.path} element={<route.component />} />
    ))}
</Routes>
and remove this line:
const route = routes.find(route => route.path === path);Then you can proceed to add links to each of the About and Homepages:
import { Link } from 'react-router-dom';
<p>
    <Link to="/">Home page</Link>
</p>
Now to fix up our entry-client.tsx. It’s as simple as follows:
import MyApp from './MyApp';
import { hydrateRoot } from 'react-dom/client';

import { BrowserRouter } from "react-router-dom";
import "vinxi/client";

hydrateRoot(document, (
    <BrowserRouter>
        <MyApp />
    </BrowserRouter>
));
Now your routes should load property and the <Link> elements will client side navigate.
Server Functions
Last but not least I wanted to explore adding server functions. This is something super cool as you can just call plain functions instead of parsing and sending JSON back and forth manually.
It works really simply by just adding the following to your vite.config.ts. This will properly handle the use server directive within functions made popular by React Server Components or RSC for short.
vite.config.ts
import { serverFunctions } from "@vinxi/server-functions/plugin";

routers: [
  {
    type: "client",
    plugins: () => [serverFunctions.client()],
  },
  serverFunctions.router(),
];
To use this powerful feature just do something like this in your index.tsx.
import { Link } from "react-router-dom";
import Counter from "../Counter";
import { useEffect, useState } from "react";

async function loader(): Promise<string> {
    'use server';

    console.log('Access database');

    return new Promise((resolve) => {
        setTimeout(() => resolve('Hello from server'), 500)
    })
}

export default function Index() {
    const [loaderData, setLoaderData] = useState('')
    useEffect(() => {
        async function loadData() {
            setLoaderData(await loader());
        }
        loadData();
    }, []);

    return (
        <div >
            <h1>Index</h1>
            <Counter />
            <p>
                <Link to="/about">About page</Link>
            </p>
            <h1>Server Functions</h1>
            {loaderData}
        </div>
    );
}
The cool thing you notice is the ‘Access database’ console log will only run on the server and not the client!!! How exciting is that.
Conclusion
So I know this has been a long journey and I’m not sure if you coded along with me or not. I know I probably didn’t explain everything the best but I hope it at least opens your eyes to how metaframeworks are built.
You can view the full source code here