Authentication has always been a pain point for me, and I’m sure for many others. I’ve seen many people ask in the Solid discord about how to protect routes and I think I’ve found the simplest way using Clerk.
Now you could just use the with-auth SolidStart example if you want to have full control over the users, but with the clerk-solidjs package from Ian Pascoe, you have a lot more out of the box.
One thing to note is that you can still sync your users from Clerk to a local database of yours using webhooks.
Let’s see how this all works!
Setting up SolidStart
Start by scaffolding a SolidStart app using the following command:
pnpm create solidCreate your basic project in typescript with whatever name you want. In this case I chose protected-routes-clerk-solidstart.
Next install all the required dependencies:
cd protected-routes-clerk-solidstart
pnpm install
Setting up Clerk
The first thing to do is install the clerk-solidjs dependency:
pnpm add clerk-solidjsWe then need to do three simple things.
1. Sign up on Clerk
The first most obvious thing is we need to setup a Clerk account. Go there now and grab your api keys (publishable key, and secret key).
The publishable key will be used on the client, and the secret key will only be used on the server.
These keys can be retrieved from the API Keys page of your Clerk Dashboard.
2. Place keys in environment file (.env file)
// .env
VITE_CLERK_PUBLISHABLE_KEY=
CLERK_SECRET_KEY=
3. Add the provider
Next add the <ClerkProvider /> component around your entire app to give you access to all the Clerk primitives.
// src/app.tsx
import { Router } from "@solidjs/router";
import { ClerkProvider } from "clerk-solidjs";
import { Suspense } from "solid-js";
import { FileRoutes } from "@solidjs/start/router";

export default function App() {
  return (
    <Router
      root={props => (
        <ClerkProvider
          publishableKey={import.meta.env.VITE_CLERK_PUBLISHABLE_KEY}
        >
          <Suspense>{props.children}</Suspense>
        </ClerkProvider>
      )}
    >
      <FileRoutes />
    </Router>
  );
}
Note: Make sure your publishable key has the VITE_ prefix so that it is sent to the client. On the flip side make sure your secret key doesn’t have this.
Using Clerk (on the client)
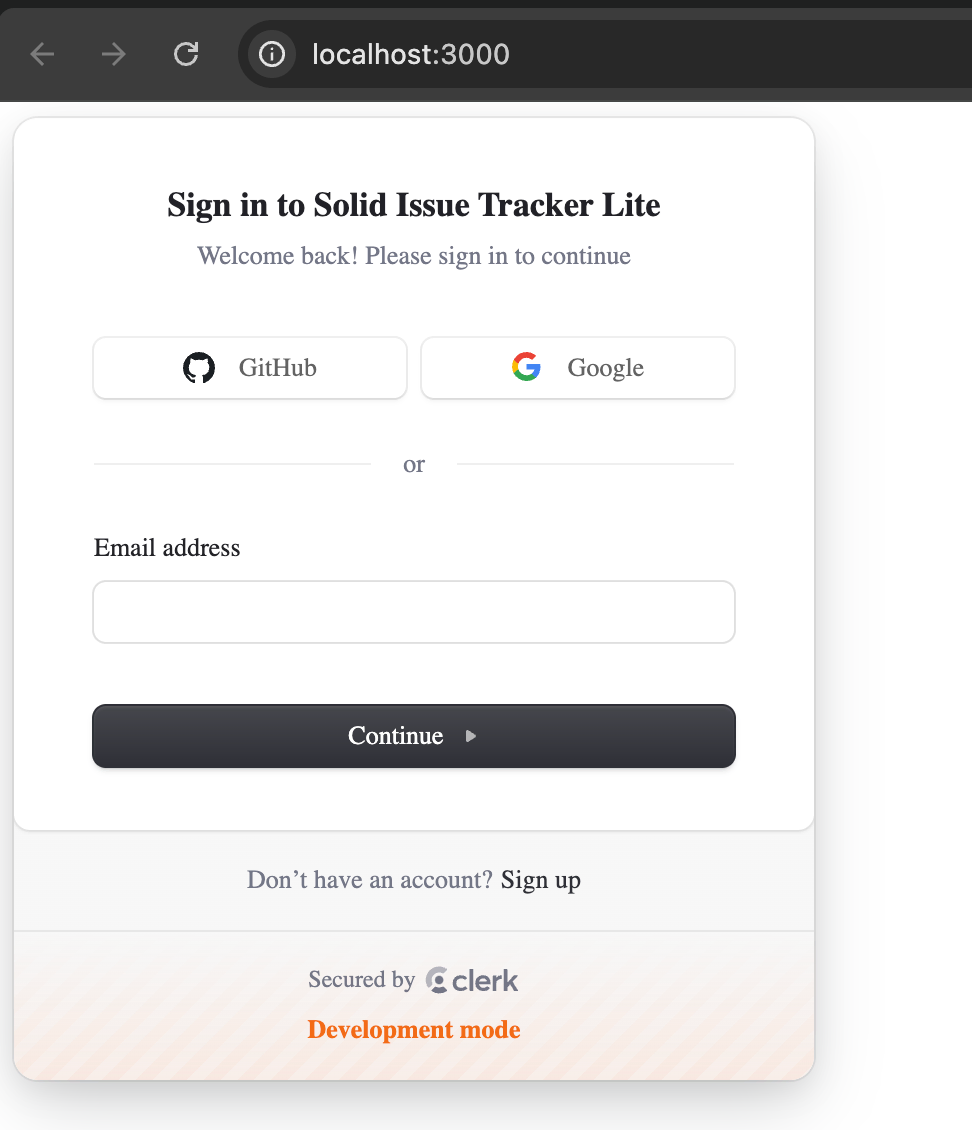
Now you can use Clerk how you need, and better yet we can use prebuilt components to make things a breeze! In this case we are embedding a sign in form using the <SignIn /> component. We can also be smart by embedding it with in the <SignedOut/> component so we only see it if we are signed out.
Then if we are signed in we can automatically redirect to the /dashboard/ page using the <SignedIn/> helper.
// src/routes/index.tsx
import { Navigate } from "@solidjs/router";
import { SignedIn, SignedOut, SignIn } from "clerk-solidjs";

export default function Home() {
  return (
    <>
      <SignedOut>
        <div class="flex justify-center">
          <SignIn />
        </div>
      </SignedOut>
      <SignedIn>
        <Navigate href="/dashboard/" />
      </SignedIn>
    </>
  );
}
If you open this in the browser you should something that resembles this:

One problem is once you actually login you are going to a dashboard page that doesn’t exist.
The easiest way I’ve found to password protect an entire folder is to use layouts. It was something I learned recently where you can create a file the same name as the folder and it will serve as a layout.
Let’s create that now:
import { Navigate } from "@solidjs/router";
import { SignedIn, SignedOut } from "clerk-solidjs";
import { ParentProps } from "solid-js";

export default function Dashboard(props: ParentProps) {
  return (
    <>
      <SignedIn>{props.children}</SignedIn>
      <SignedOut>
        <Navigate href="/" />
      </SignedOut>
    </>
  );
}
This will make sure we only render the children if we are signed in, and otherwise redirect them to sign in. This will apply to all future files we set up in the dashboard folder.
With all this ceremony done, we can actually create our 🔑 secret page.
// src/routes/dashboard/index.tsx
import { UserButton, useUser } from "clerk-solidjs";

export default function Dashboard() {
  const clerk = useUser();
  return (
    <>
      <UserButton />

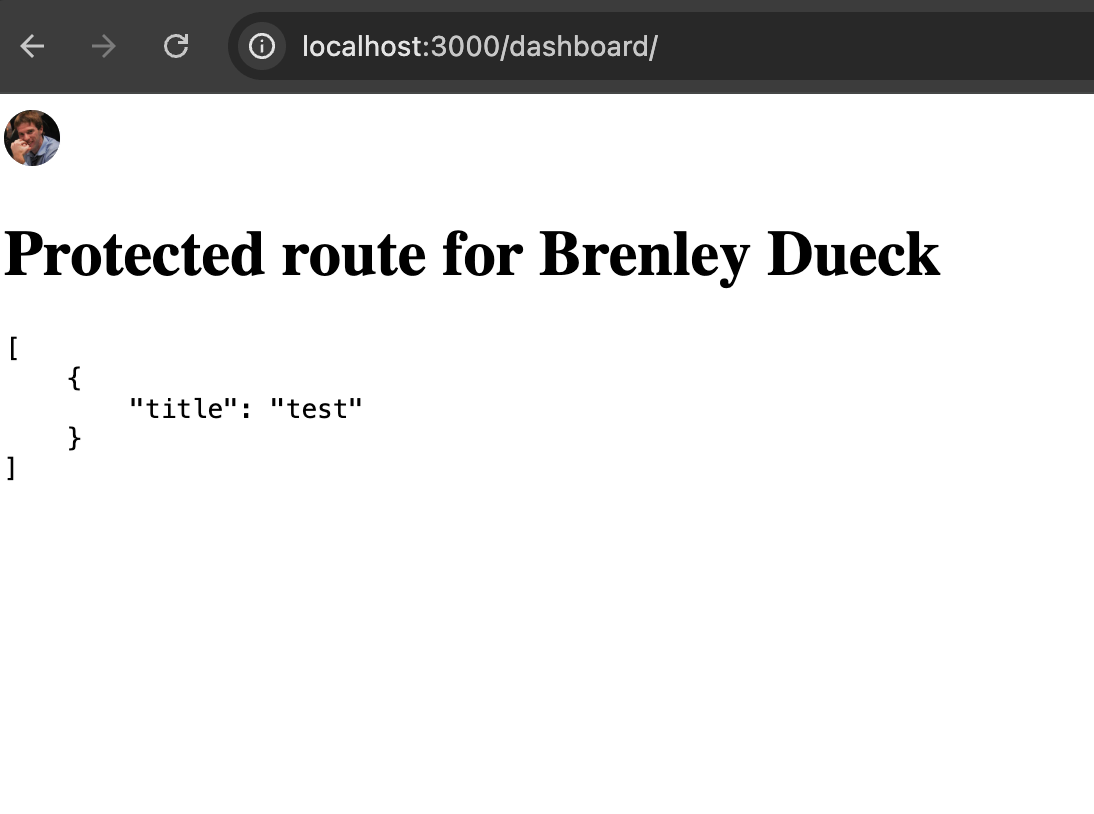
      <h1>Protected route for {clerk.user()?.fullName}</h1>
    </>
  );
}
Two things to note here. We are rendering out a helpful <UserButton/> which shows a nice little avatar and when you click on it you can sign out. This is nice for putting into a header menu.
The second thing is how easy it is to get the logged in users name. We just use the useUser hook. We also have access to a useAuth hook for more auth specific information.
Looking at the browser once again you will see this nice page when you login.

Using Clerk (on the server)
Sometimes you want to be able to access user information directly on the server. You can do this simply by setting up some SolidStart middleware.
// src/middleware.ts
import { createMiddleware } from "@solidjs/start/middleware";
import { clerkMiddleware } from "clerk-solidjs/start/server";

export default createMiddleware({
  onRequest: [
    clerkMiddleware({
      publishableKey: process.env.VITE_CLERK_PUBLISHABLE_KEY,
      secretKey: process.env.CLERK_SECRET_KEY,
    }),
  ],
});
// app.config.ts
import { defineConfig } from "@solidjs/start/config";
export default defineConfig({
middleware: "./src/middleware.ts",
});Pretty easy I must say! We can now access this information from a server function and the auth() helper from clerk-solidjs/server.
If you are unfamiliar with server functions you can check out the Solid docs on Data Loading.
// src/routes/dashboard/index.tsx
import { cache, createAsync } from "@solidjs/router";
import { UserButton, useUser } from "clerk-solidjs";
import { auth } from "clerk-solidjs/server";

const getNotesForUser = cache(async () => {
  "use server";
  const userAuth = auth();

  console.log(userAuth.userId);

  return [];
}, "get-notes-for-user");

export default function Dashboard() {
  const clerk = useUser();
  const notes = createAsync(() => getNotesForUser());
  return (
    <>
      <UserButton />

      <h1>Protected route for {clerk.user()?.fullName}</h1>
      <pre>{JSON.stringify(notes(), null, 4)}</pre>
    </>
  );
}
Now if you hit the dashboard page you should see an id in the server console. This could then be used to look up records in your database related to that specific user. This prevents you from even having to send the user info from the client to the server.
Conclusion
Setting up auth shouldn’t be a blocker for you starting a project, and I’m happy to say this setup has never been easier thanks to the clerk-solidjs package.
I’ve even been able to use these Clerk users together with Liveblocks to create a group of avatars showing who is online or not. It is pretty cool, but I’ll leave that for another post.
Oh and by the way, SolidHack2024 is currently going on so maybe you can use this knowledge to build something of your own.
Happy hacking!
